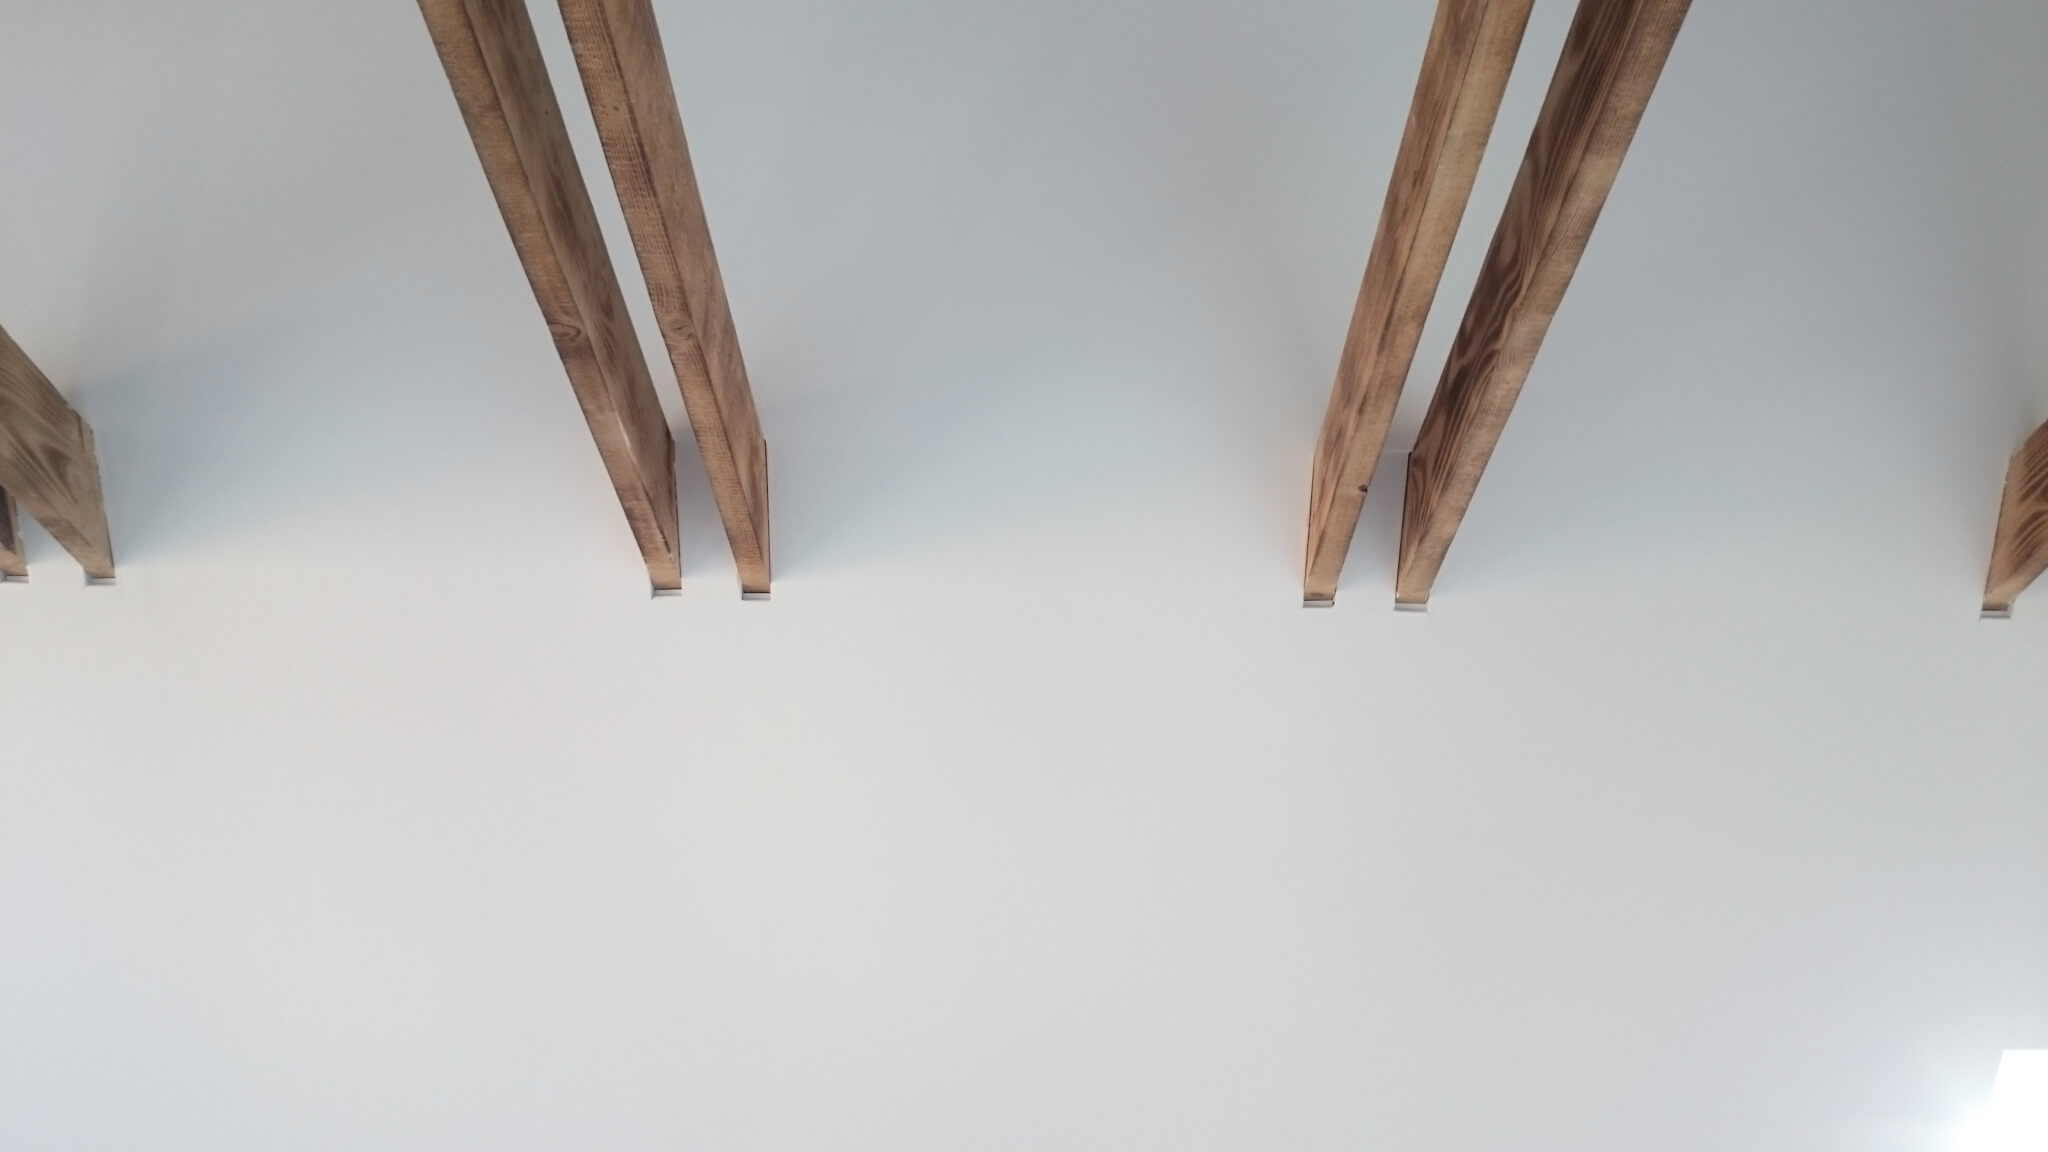
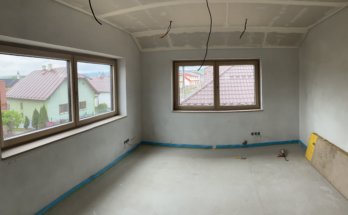
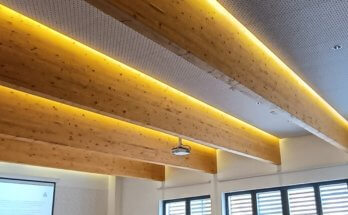
Some time ago, a customer contacted us and showed us a project for the planned reconstruction of his family house. He asked us for our opinion on the attic where the architect had planned visible admitted studs. We were immediately impressed by the admitted purlins, but the first thing we pointed out to him was the many details that awaited him in the implementation of such a chosen attic. The details mentioned were mainly to do with the need to treat the joints and terminations of the plasterboard, so that the proposed effect of the visible purlins, and the open space up to below the roof gable, would not cause cracks.
Implementation procedure with PROTEKTOR termination strip
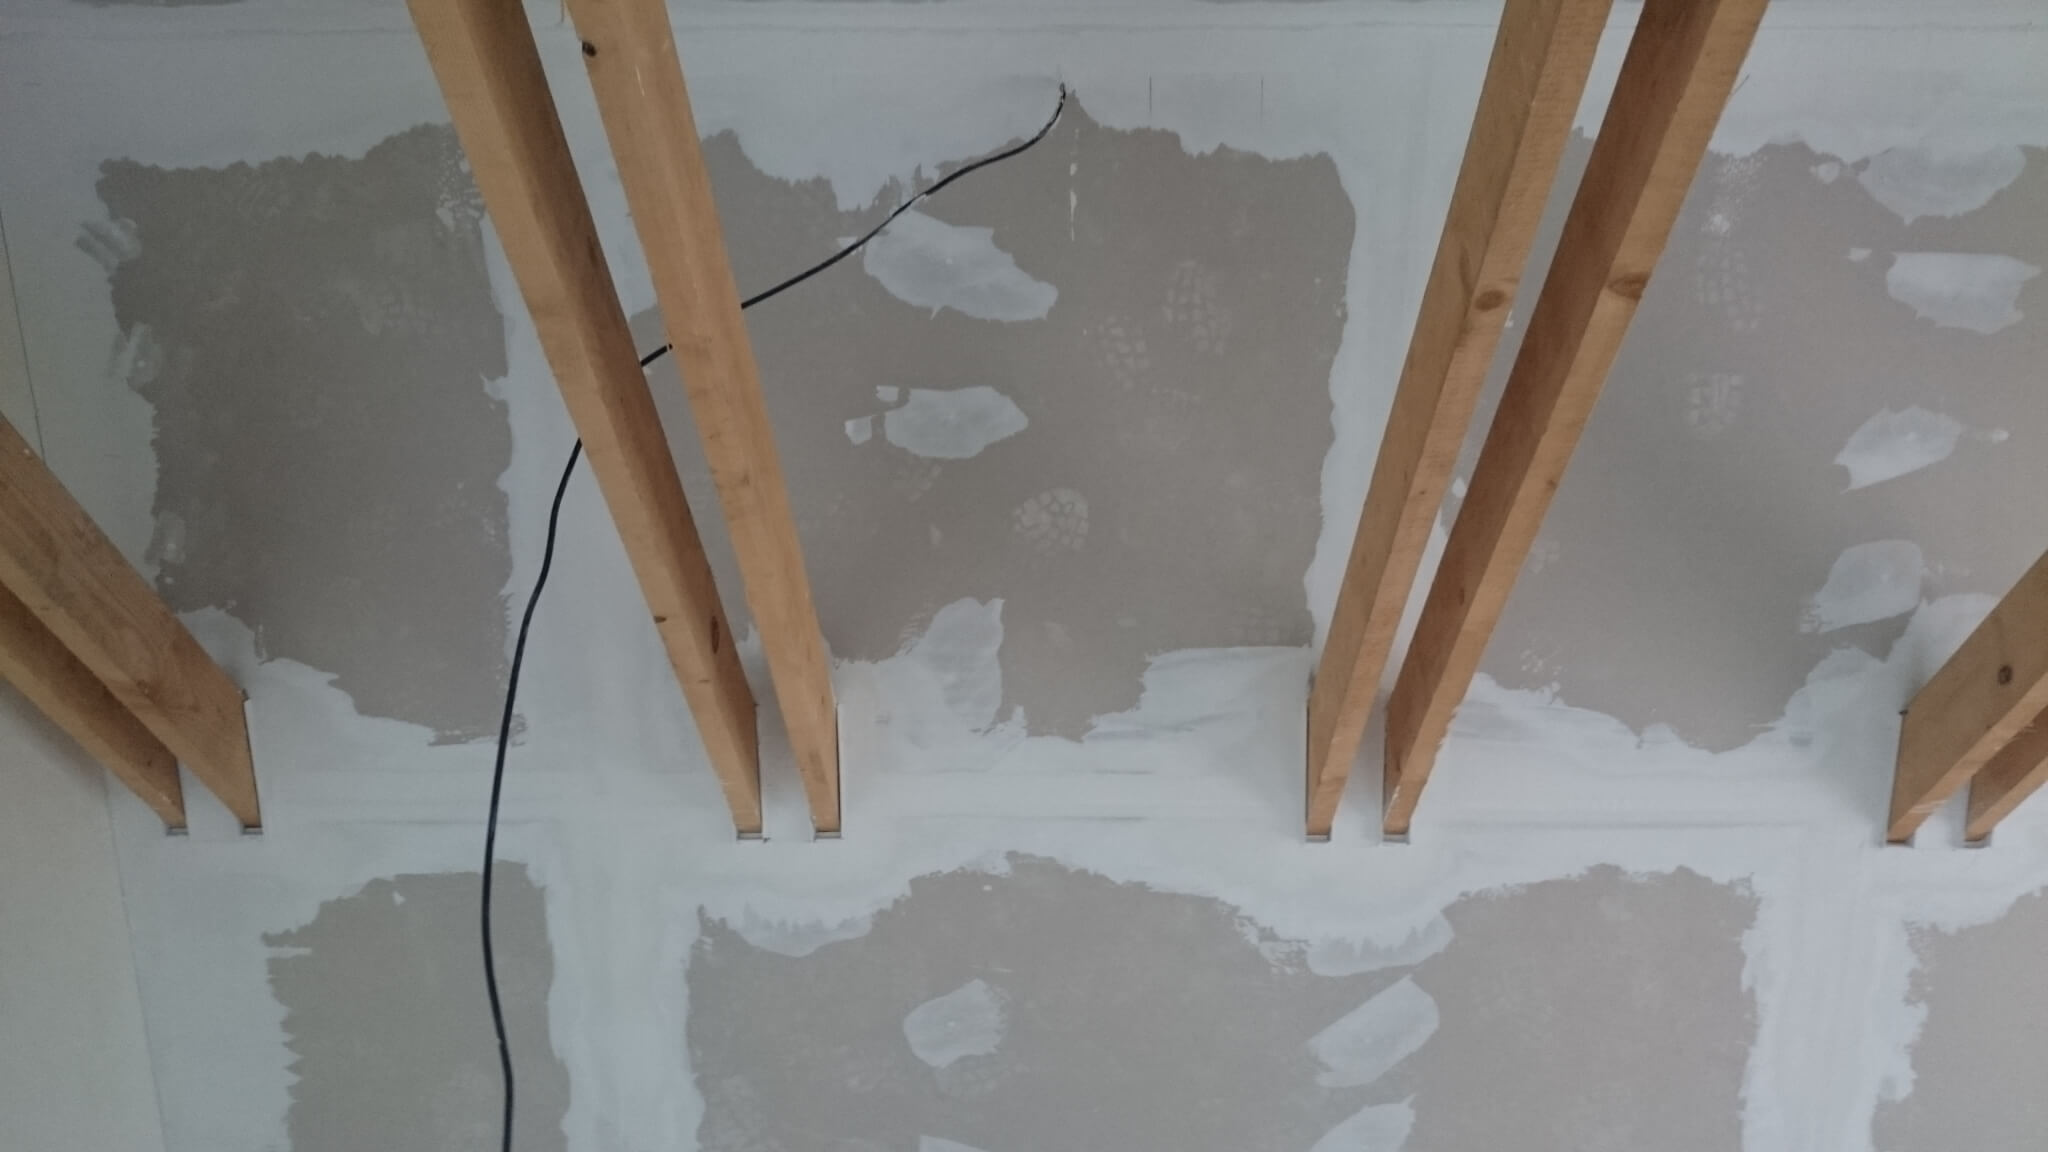
The most problematic places are in the connection points of the plasterboard to the visible elements of the truss and together with the owner of the house we agreed that any possibility of using acrylic putty should be excluded. Anchoring the plasterboard to the subfloor grid is the last layer of the composition. It is the last and most important in terms of implementation. As we have already mentioned, the reconstruction was carried out without the use of acrylic putty and all terminations were carried out using a termination profile with PROTEKTOR cover strip. This moulding is inserted into the joint between the tile and the plasterboard. For this reason it is necessary to leave a space of approx. 6 mm wide when trimming the plasterboard to allow the termination profile to fit. The profile is anchored with a staple gun so that it is firm and forms a line when the plasterboard is being trowelled. Thanks to a constructive discussion with the owner of the house before the start of the reconstruction, we managed to obtain all the photo documentation of the implementation of the planned reconstruction.
Cutting out the outline of the wedges in the plasterboard, clearance approx. 6 mm for the termination profile PROTECTOR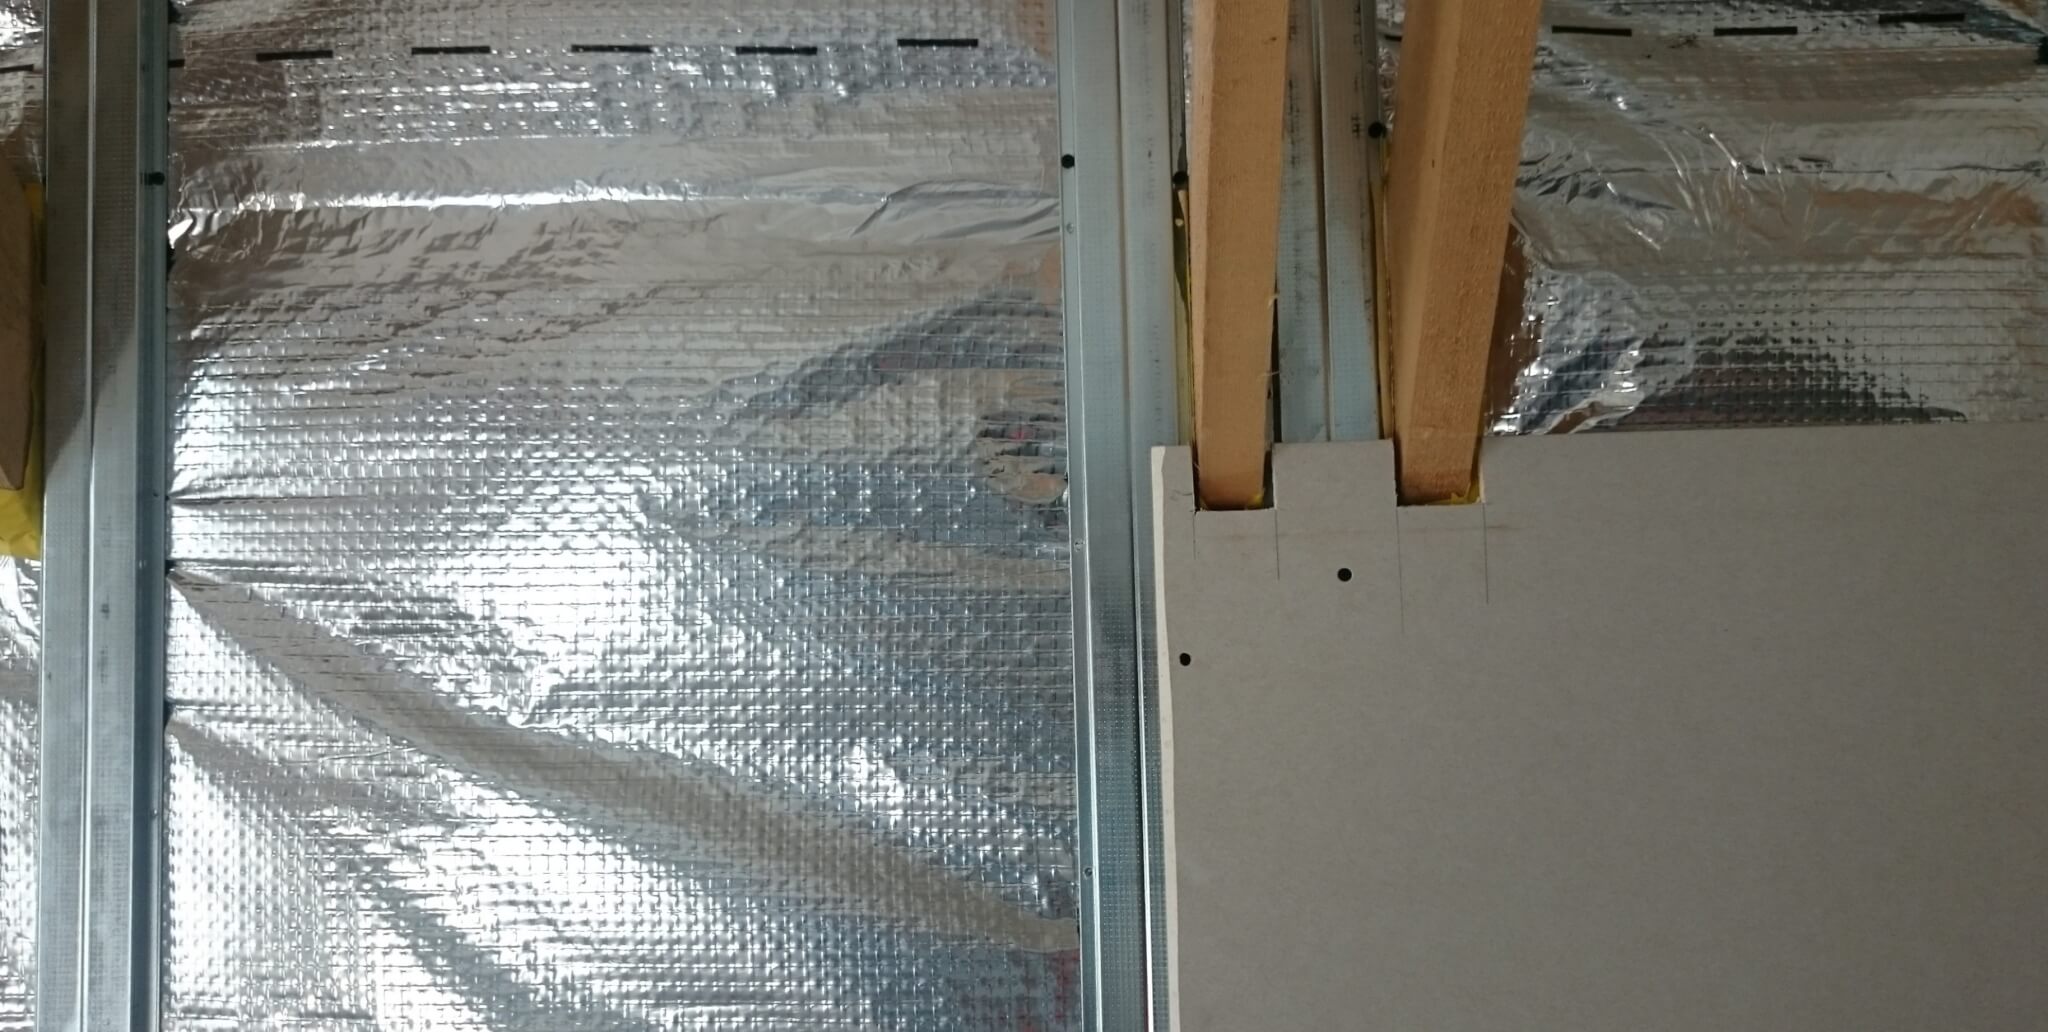
Insert the termination profile into the prepared approx. 6 mm hole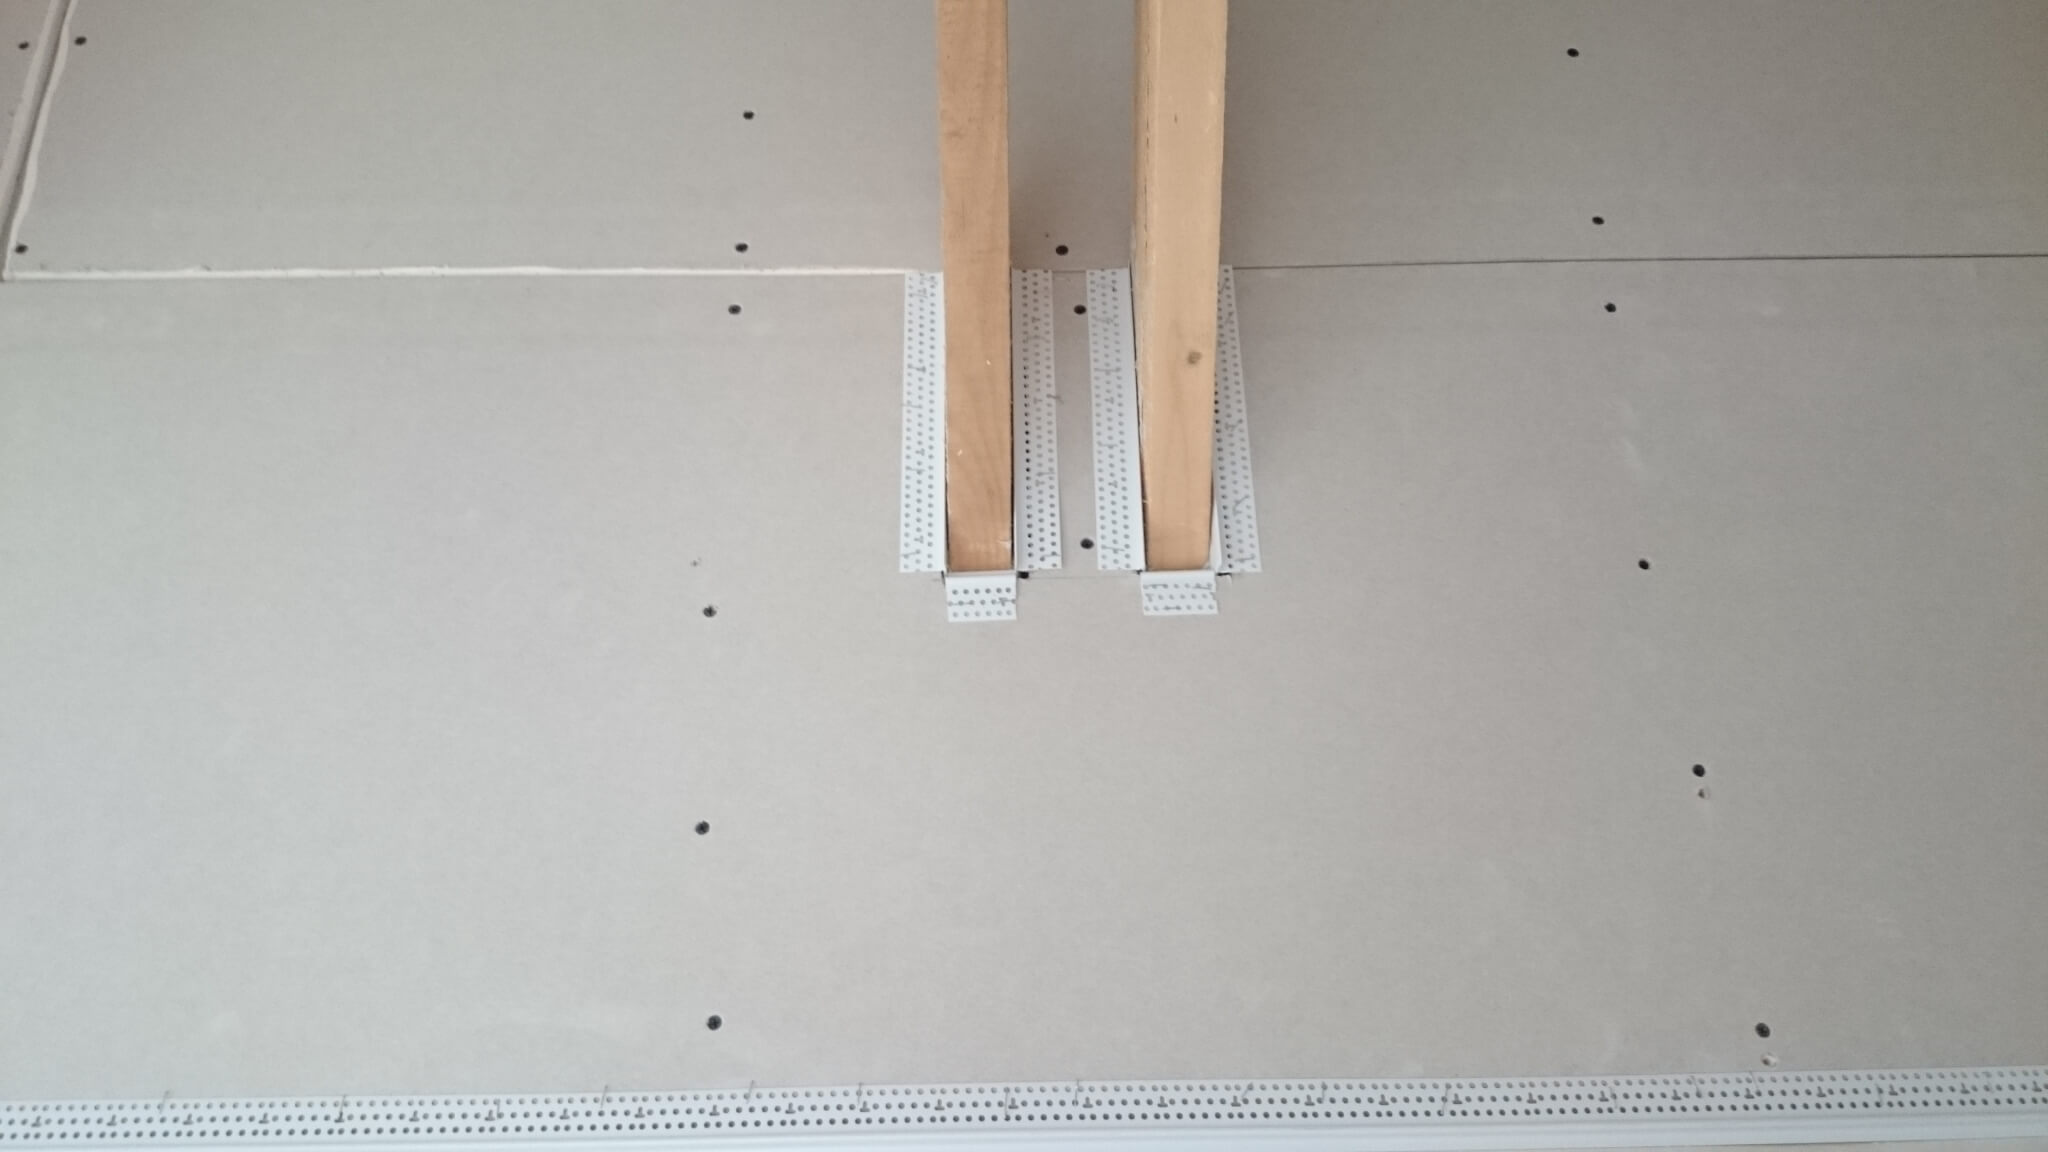
View of the rafters for troweling plasterboard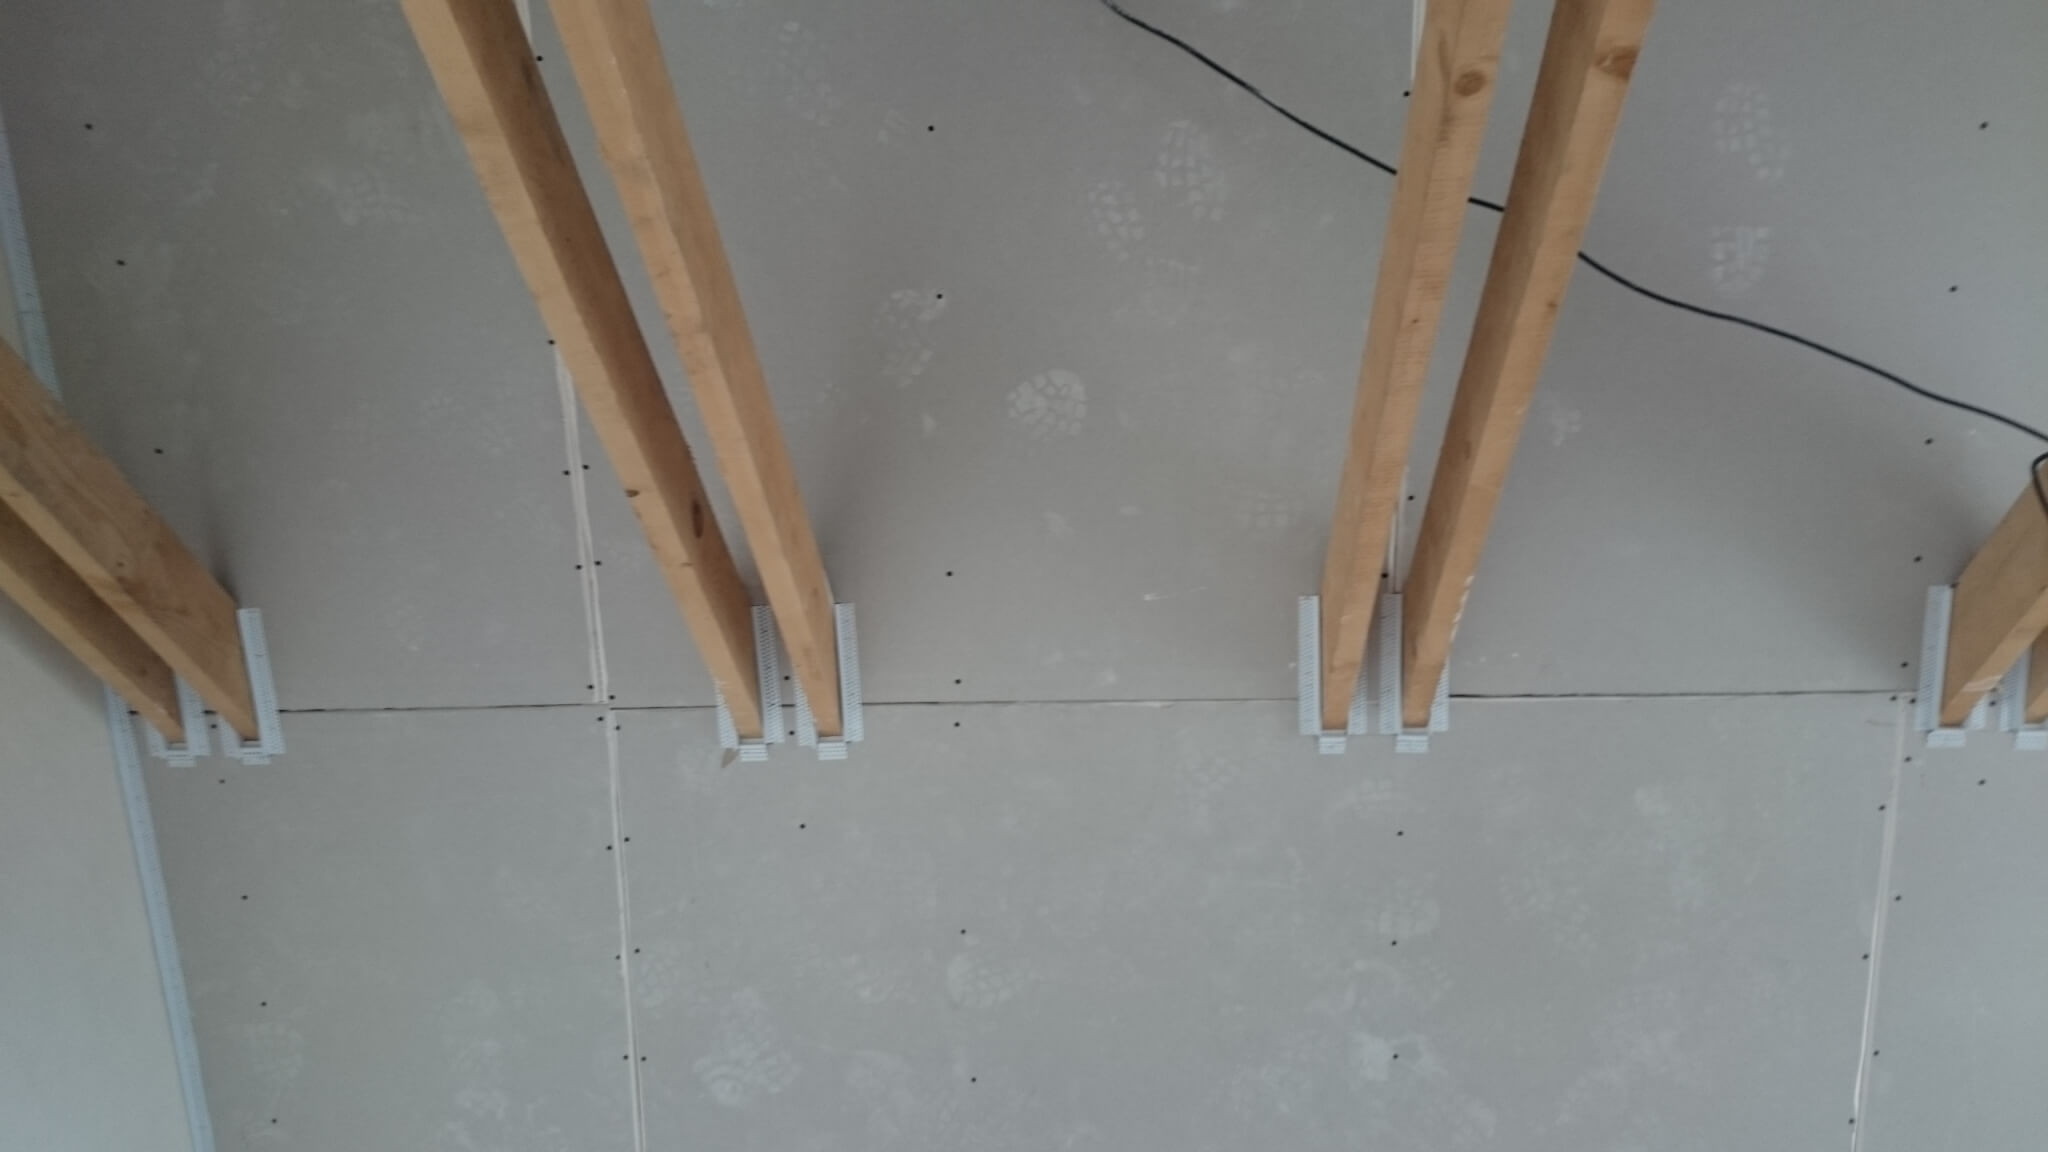
View of the plasterboard joint without plaster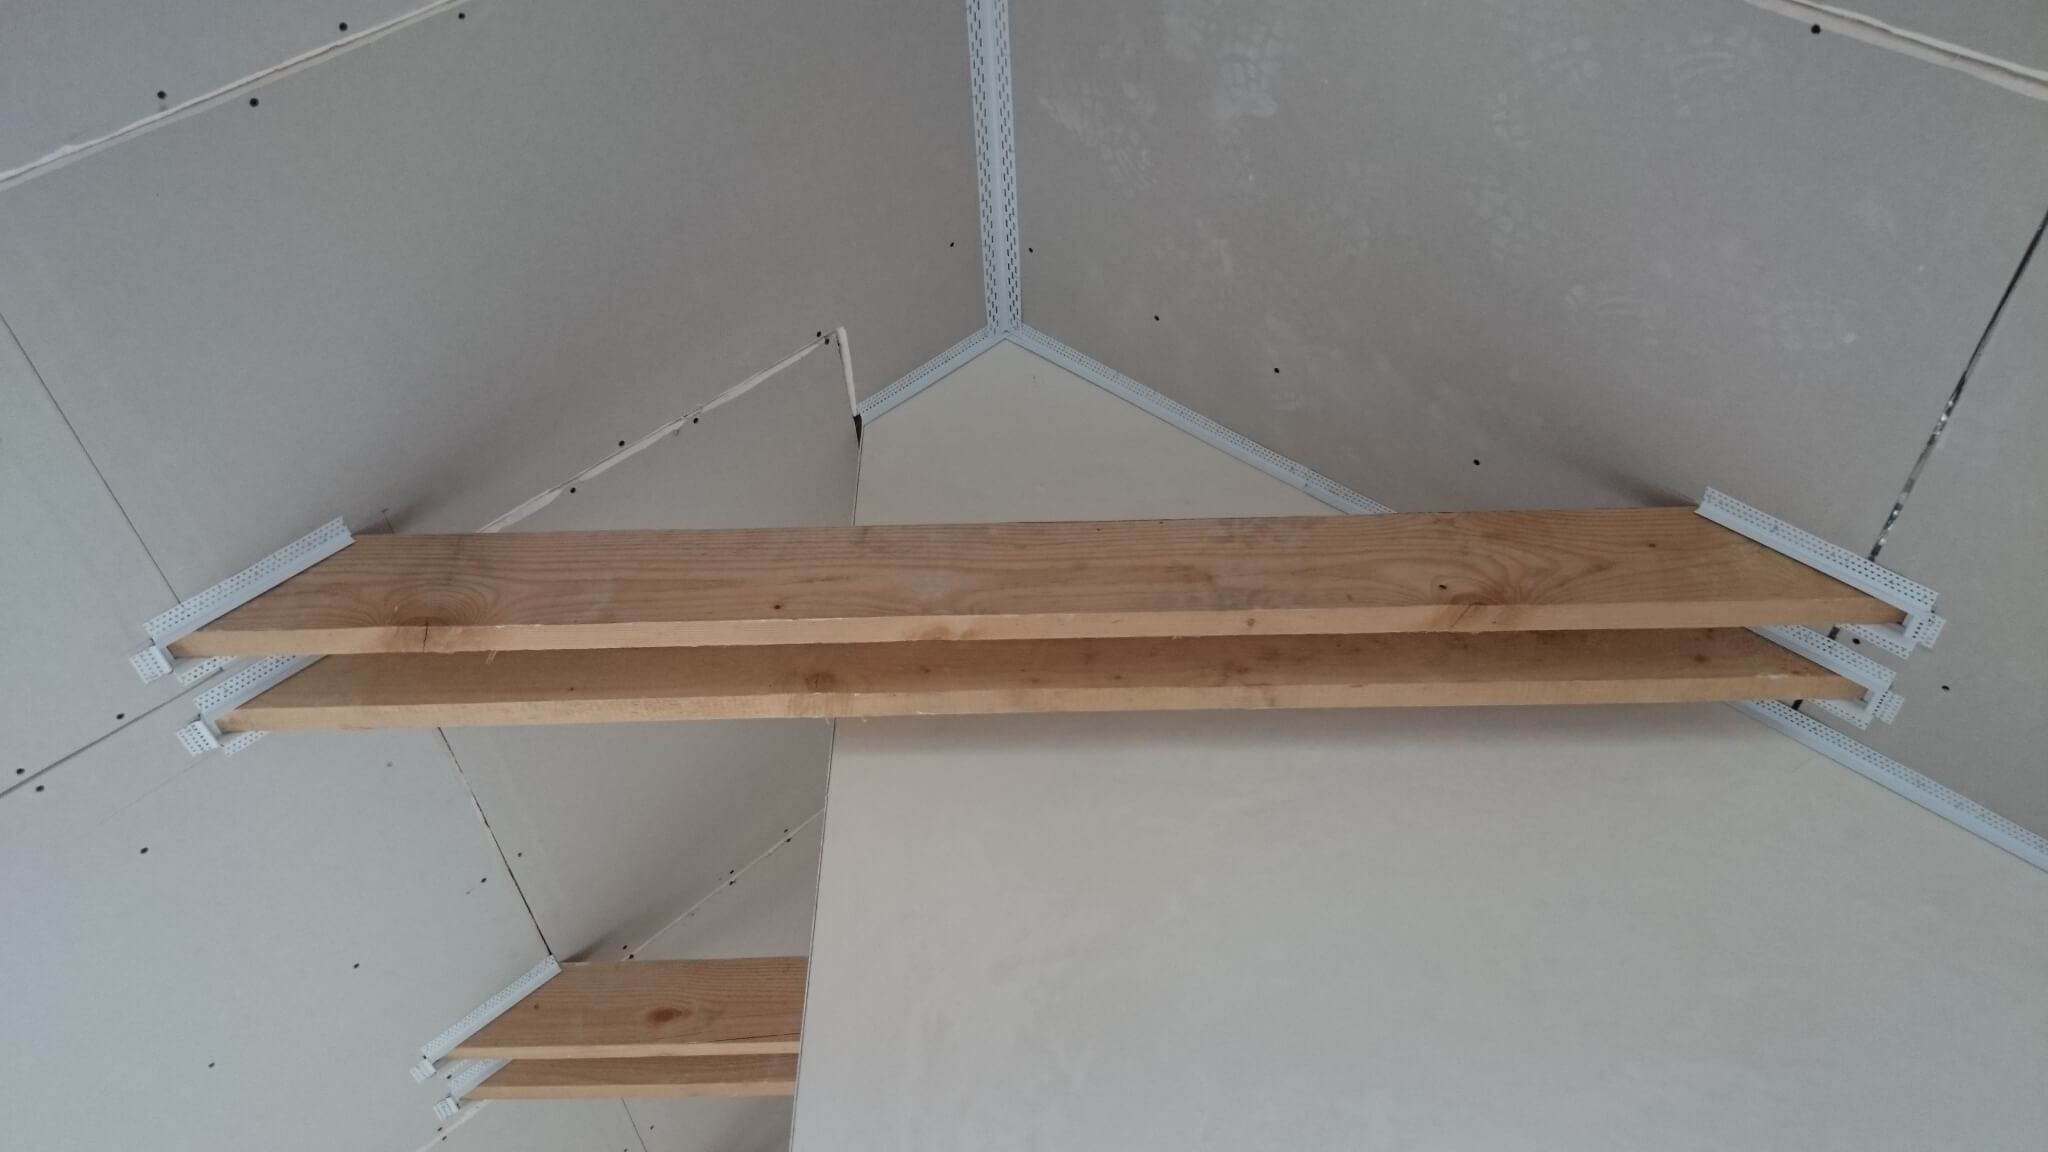
View of the area above the cages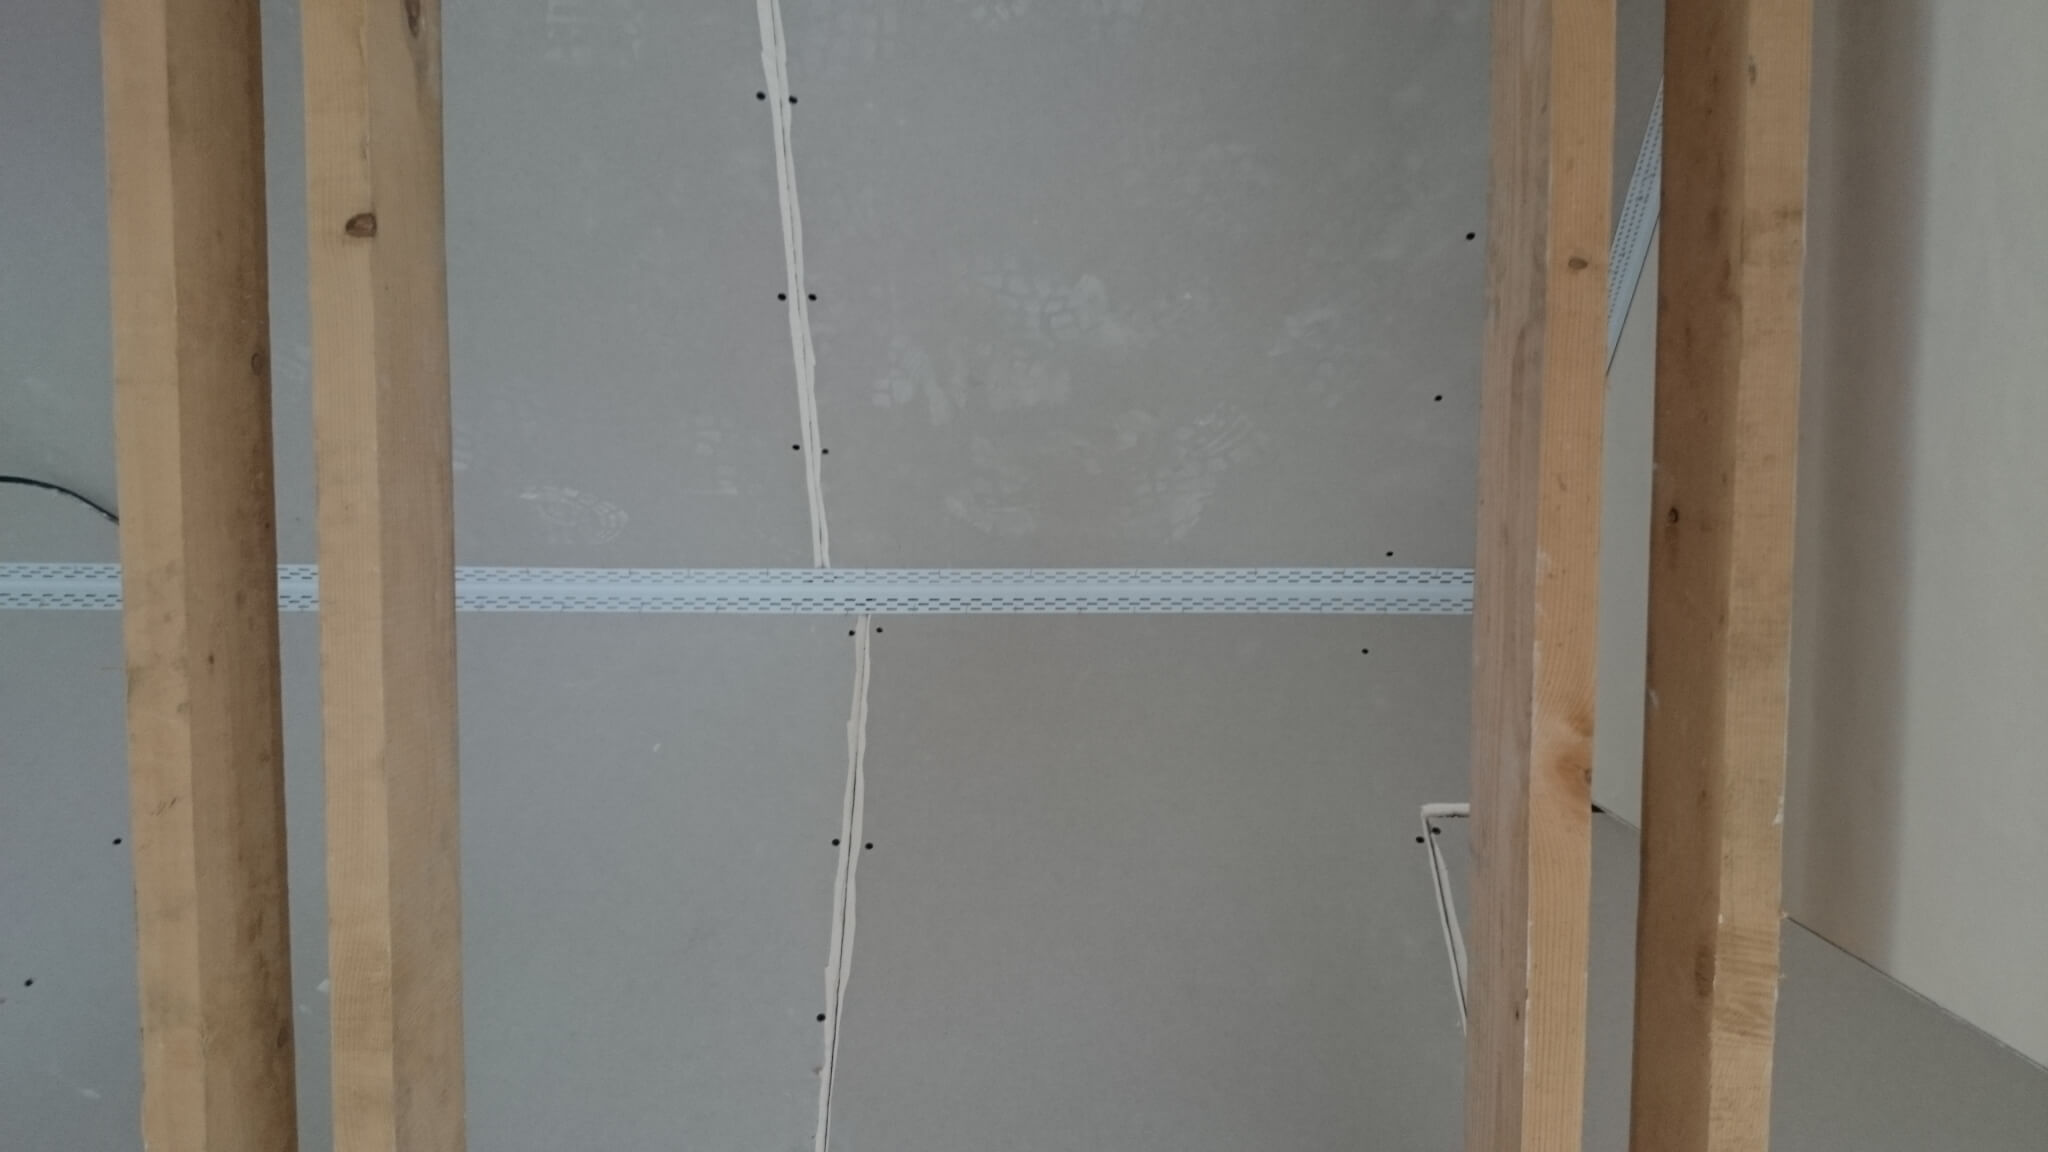
Sealing of fitted termination profiles
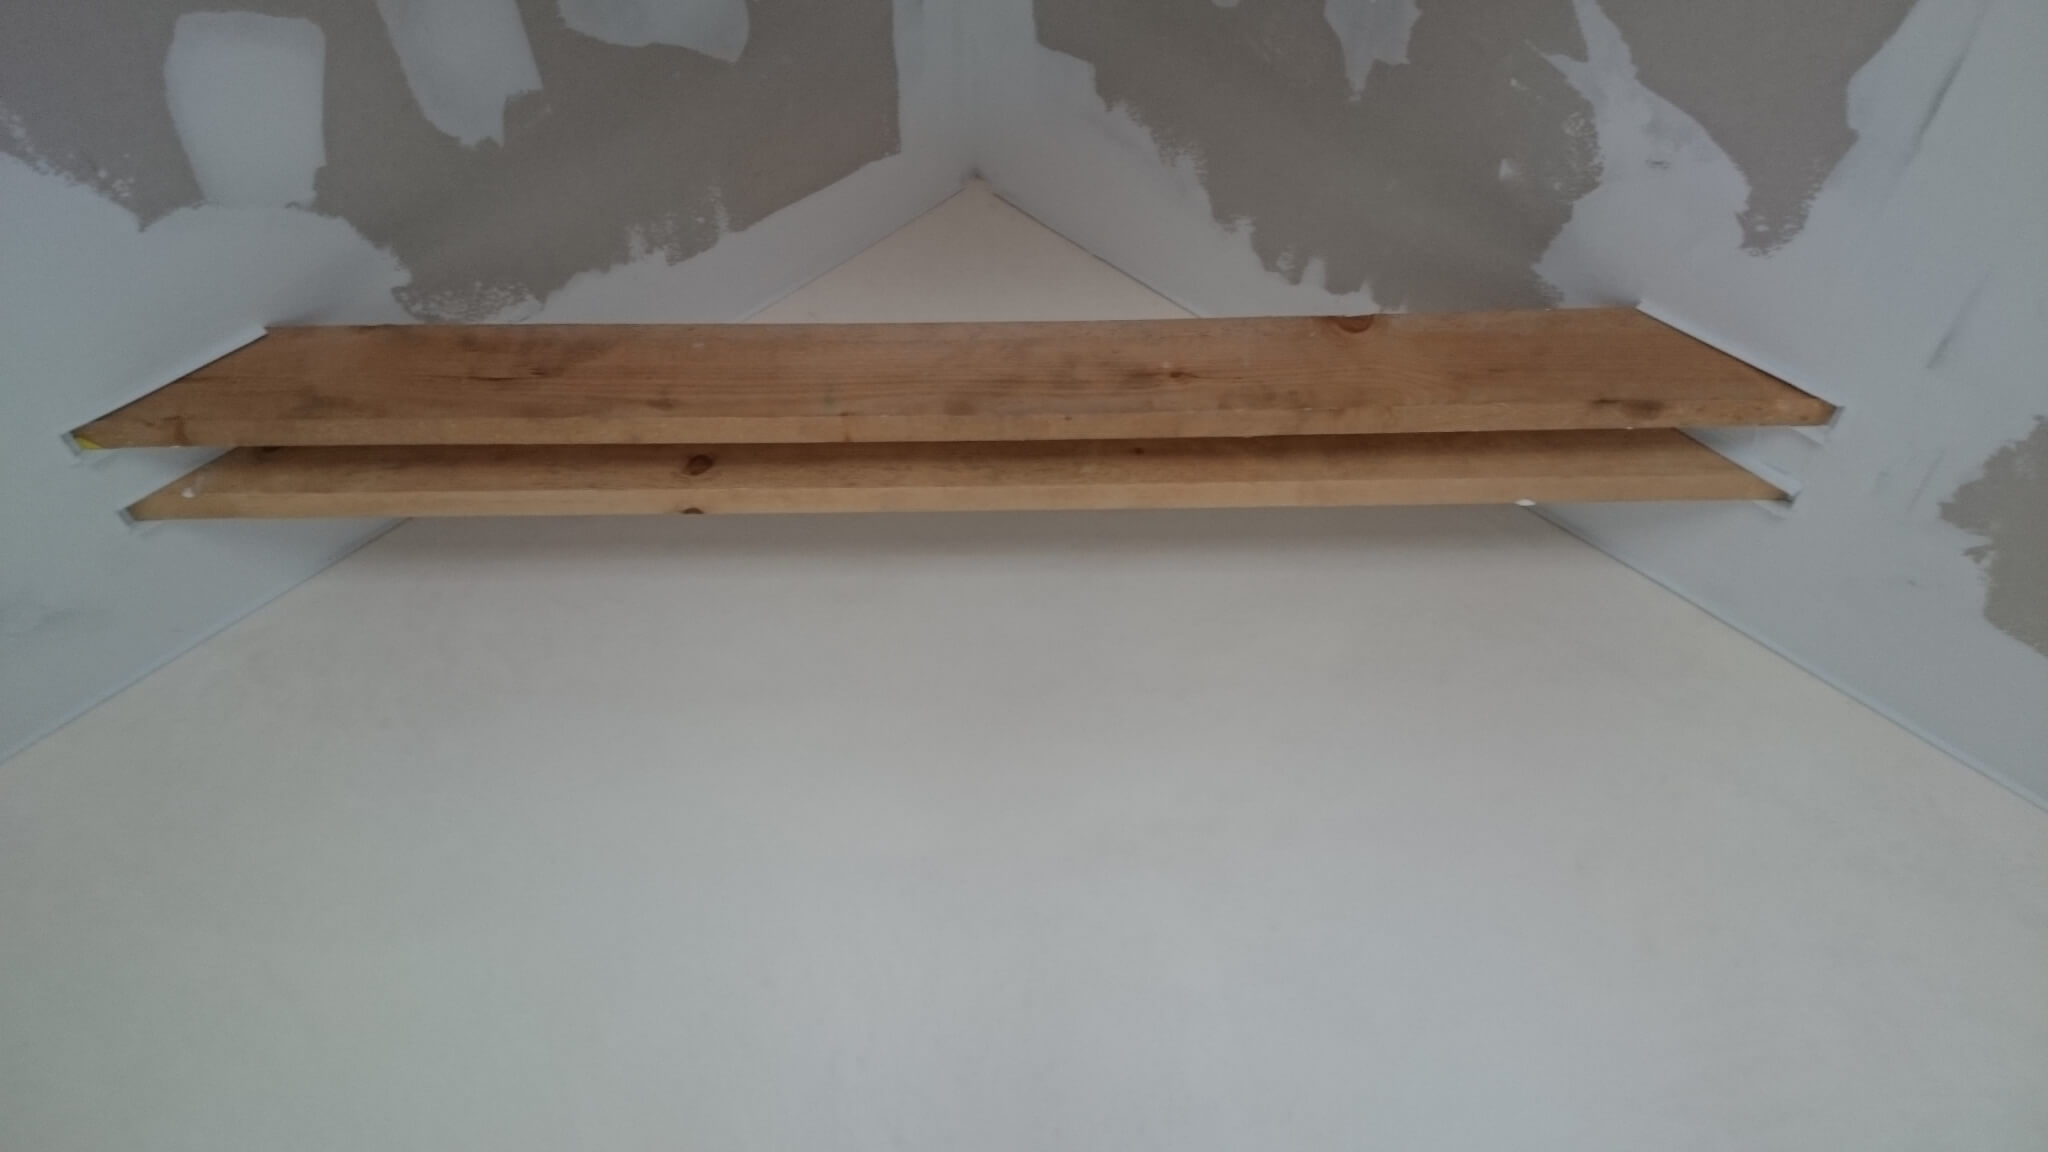
I believe that the above photo documentation of the attic with the admitted wedges can help you in the future and we will be glad if you will be inspired by this project. Of course, you will find all the tools and materials you will need to carry out a similar project in our online shop.

