I’m sure you know it too, that when you look at a nice space, you see all sorts of unsightly details that spoil the whole impression. One of the most common bad details are the connections of the plasterboard to the plaster. It is very common to paint over this joint with acrylic putty and this is the wrong solution from our point of view. Within a few months the putty will turn yellow, lose its elasticity and it is at this joint that it will start to crack. In order to avoid this we offer you a method of implementation called shadow joint.
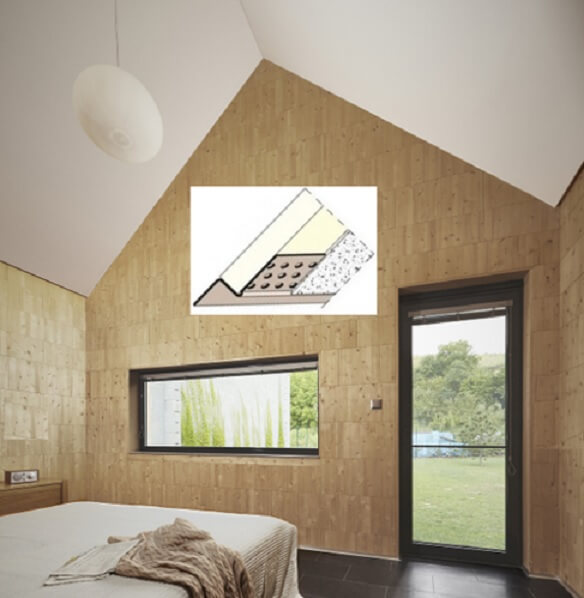
Create an interesting shadow-spar effect around the perimeter in the attic
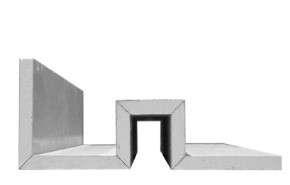
We will present you a way to solve the detail of the connection of plasterboard and plaster, which does not crack, but at the same time creates an interesting interior effect around the perimeter of the suspended ceiling. The solution is the implementation of a shadow joint profile, which visually divides the sloping surfaces of the attic in contrast with the vertical perimeter walls. It all looks very effective when the walls are in a colour other than white, possibly made of veneered tiles. It’s up to your imagination and the interior designer how to combine the two.
Implementation and its procedure
Shadow jointing and its implementation is a simple, easy and hassle-free job. It is necessary to leave a gap in the width of the planned finishing profile when fitting the plasterboard, which will create a shadow gap. This gap can be 6, 10, 15 or 20 mm wide. The method of creating the shadow joint can be seen in the attached photo documentation.
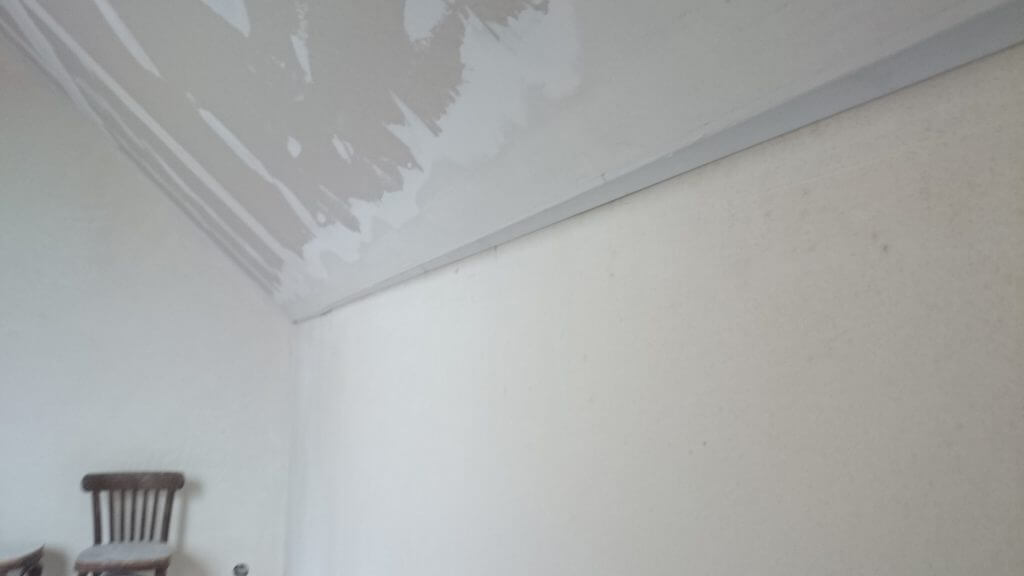
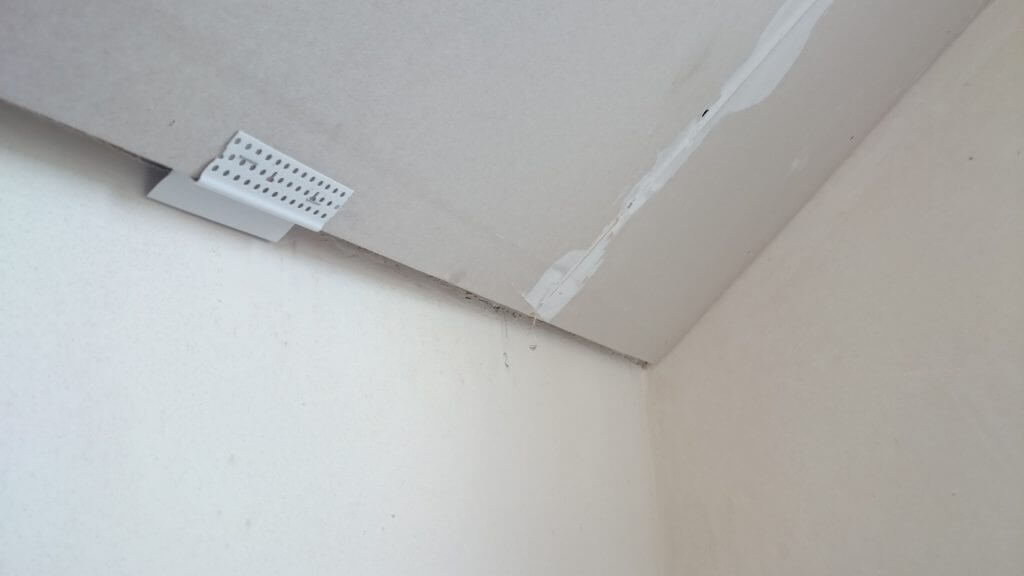
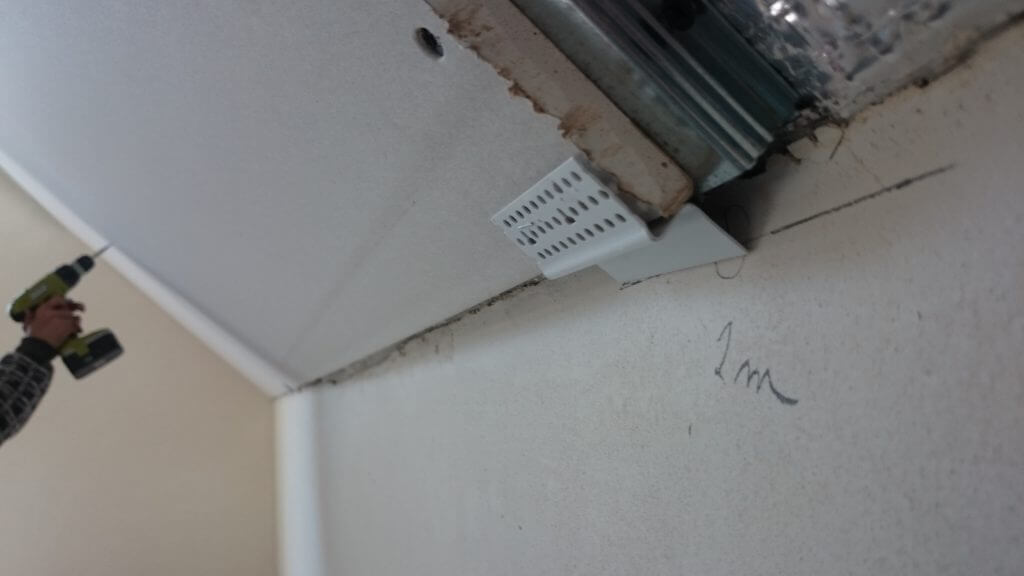
We recommend using a profile with a shadow gap of 15 mm. As the ceiling is at an angle, a wider profile will stand out better. We fitted it by using a cross laser to create an imaginary plane around the perimeter, which will be covered by the termination profile that will create the shadow gap. The profile is inserted lengthways into the gap created and anchored with a staple gun approximately every 20-30 cm. Finally, it is primed with a finishing trowel so that the profile and the unevenness of the stapling points are not visible. Then we create the effect of a shadow joint around the entire perimeter in the interior. It is up to you how you decide to realise the joints between the perimeter wall and the plasterboard. This article may inspire you to create a shadow joint effect around the perimeter. This will not only give you a great visual interior effect, but also prevent the formation of unfavourable cracks. If you decide to carry out your project in this way, let us know.