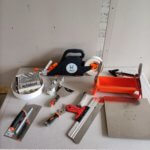
In this article, we have prepared an overview of 12 tools you need for the installation of plasterboard. Their use will not only make working with plasterboard easier, but will also guarantee that the result of the implementation will be more visually attractive.
12 tools needed for plasterboard installation
Sometimes it’s better to see once than hear 100 times. And sometimes it’s better to just see a video with a short description and a few photos to get an idea of what tools are needed to install drywall. These are the tools that will help you get the job done faster and more professionally.
1. CORNER FIX
Using corner beads on plasterboard is a science. Someone puts plastic, someone puts tape and someone puts what the drywall manufacturer prescribes. Use CORNER FIX to fit the corner beads without stapling. And that’s the advantage. 2. Smoother with rounded edges
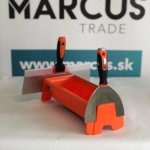
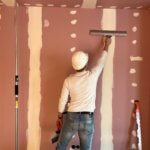
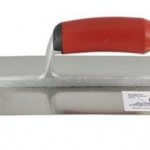
It is this smoother that every plasterer will appreciate. The belly of the trowel ensures that more trowel is applied, but on the other hand, the edges of the trowel are rounded, which is the reason that they do not create grooves in the trowel. This is a great advantage when sanding. 3. Bit PH2
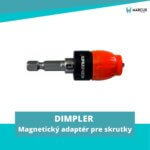
You don’t need to buy a professional drywall screwdriver. This bit will ensure that you screw in the screw so that you don’t twist the screw in the plasterboard. 4. Joining CD profiles
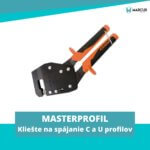
A very good tip to save money on fasteners when installing plasterboard, and also to assemble substructures using stronger joints. The philosophy is to join the CW profiles with ERGO TOP pliers, which push a hole in the CW profiles with their sharp point and then join them together. Thanks to this solution, you not only save screws, but also guarantee a higher joint strength. 5. Grinding grid holder with extraction
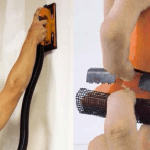
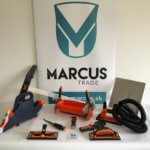
A new innovation in the field of grinding is the grinding grid holder with extraction, which can be connected to an industrial vacuum cleaner, thus preventing the generation of unnecessary dust indoors. You will appreciate this especially during interior renovations. Sanding cubes, which are used for sanding paint or surface layers, are also a very good tool.
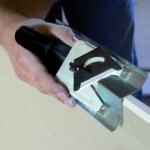
6. Edge beveling knife
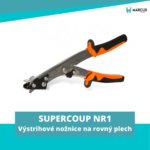
Each plasterboard cut must be subsequently treated by beveling the edge. An edge knife is perfect for this job and will save you a lot of time.
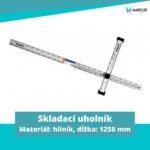
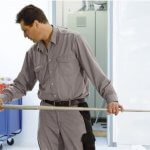
7. Telescopic gauge NEDO
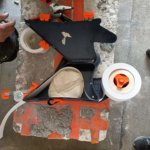
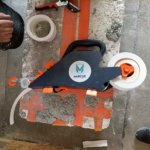
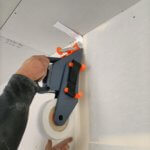
Use the telescopic gauge to measure the position of the individual partitions and profiles required for the plasterboard installation. 8. Drywall Tape Uncoiler BANJO TAPER
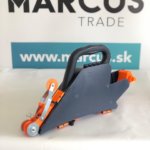
Excellent helper for uncoiling drywall tape. Taping has never been easier with this tool. The use of this unwinder is suitable for paper as well as fiberglass tape. The video can be found here.
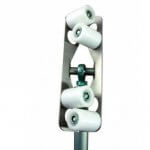
9. NO COAT roller
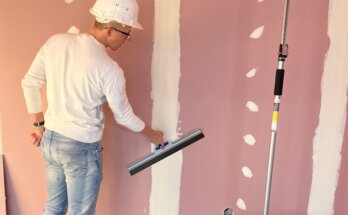
To tighten the tape to the horizontal and vertical inner corners, it is advisable to use this roller. Thanks to the 140 cm handle, the roller can be used for ceiling heights up to 3.5 m. Installation is simple, quick and the end effect is excellent. 10. Angles
Thanks to the use of this angle, it is possible to make a clean, straight and neat cut when cutting plasterboard. 11. Adjustable Walkers
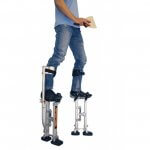
Aluminium adjustable walkers are lightweight and practical. The articulated foot pads allow for a natural gait, the 2 pads provide better balance and the new straps with metal buckle ensure better fastening. They offer time saving for all height work.
12. Telescopic support
Telescopic support for plasterboard installation 290 cm, which has a load capacity of up to 30 kg. A short presentation can also be found in the video below.
If you are interested in this article, we would be happy if you contact us with your questions.

