

Making a Window Sill for a Circular Window
1. Introduction
Modern architecture demands that you are prepared for every detail. If an architect comes up with an interesting building shape — curved walls or various roof radii — a good sheet-metal worker has to be able to handle the challenge. We are not going to cover those demanding details here. Instead, we will look at a detail that seems simple at first glance: making a circular window sill on the façade of a family house.
It is in fact a demanding detail, because producing the circular opening itself is difficult work, whether for the joiner or the PVC window manufacturer. We are not going to discuss how the window opens, but how a sill can be made for this type of opening.
This whole article grew out of a visit to a hotel in Stará Ľubovňa, where I spotted a circular window. The sill flashing had been installed, but it was not aesthetically pleasing. That is why I want to show you how this type of detail can be done more attractively, faster and with a better finish. It will not be cheaper — but our goal here is a good-looking, functional detail.
2. What types of window sills do we know?
These are the basic types of sills used and installed on building sites in our region:
- Extruded aluminium sills — the most widely used
- Galvanised sheet sills finished with plastic or aluminium end caps
- Sills made the sheet-metal craftsman’s way — folded, planished and soldered
We prefer craft-made sills, and the most demanding method is a sill with a curved (rolled) front bead. The best material for this type of work is sheet metal that can be planished and soldered — in this case copper, titanium zinc or natural aluminium.
3. Measuring, drawing and developed width
Accurately measuring the opening and then calculating the developed width, together with the method of curving the sill, is the essential part of preparing the job. You can even use a simple template drawn on stiff card — that way you prepare a jig that helps you mark everything out so the sill can be reliably fabricated and correctly fitted into the façade. Let’s get started.
Measuring
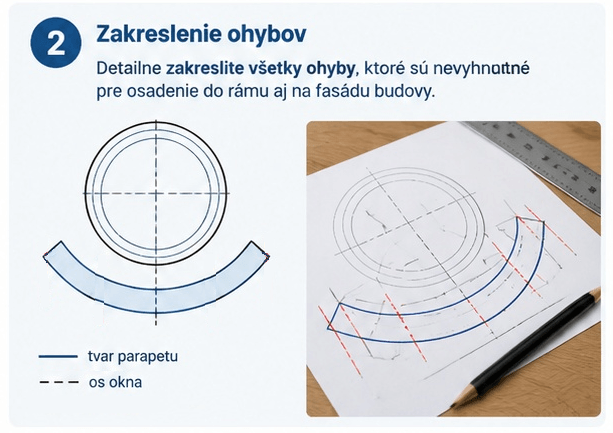
- Measure the diameter of the window and calculate the length of the sill
- Draw the fold needed to seat the sill into the window
- Mark out the fold needed on the façade, running downwards
- Prepare the end detail at the start and the finish of the circular sill



Working procedure
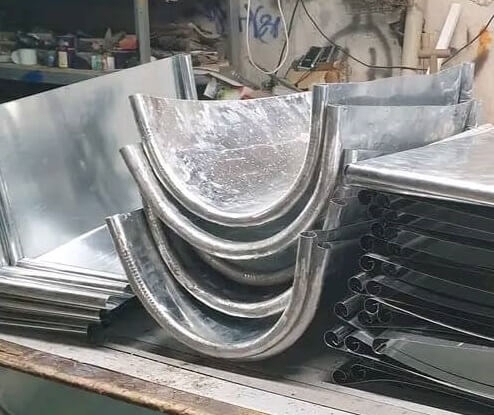
- The front bead is formed as the first fold on the sill
- For the fold running down the façade we use the CMB tool
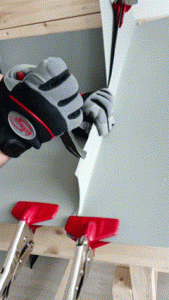
- For the fold at the window we use planishing or crimping shears
- We then curve it gradually, step by step
The bead

For the fold down the façade we use the CMB tool

The finished sill
4. Tools — what you really need
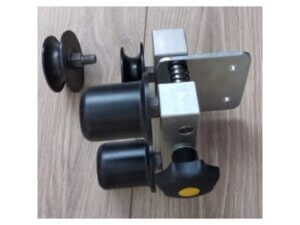
- Bead curving set CMB-ET
- Sheet metal planishing tool
- Bead curving (workshop equipment)
- Roll bender for curving BKK 50, 5–50 mm
- Folder with integrated curving JOUANEL PCX3080A
- Curving aid — T-shaped bar, 36 cm, ⌀13 mm
- Segmented folder JOUANEL HS33 — 1270 mm


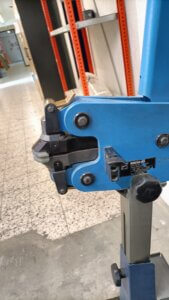


5. The most common mistakes
- Missing separation and waterproofing layer above absorbent insulation
- Water running down the façade → staining and colour patches
- Unresolved termination at the reveal (typical with extruded aluminium)
- Zero fall, short overhangs, missing expansion allowance
Making a circular sill is a demanding task. You need experience in working sheet metal, and the result has to stay functional for many years. Unprofessional installation of a circular sill can cause damage to the façade: water from the sill can get into the reveal and the thermal insulation, and it can also stain the façade.
Choosing the right material matters as well. When we talk about sills fitted into circular openings, the ideal material is one that will not be damaged by planishing and forming — this can be copper or titanium zinc. Plastic-coated (coil-coated) sheet may not be a suitable solution, because planishing damages the coating and the result will not look professional.
One example of incorrect installation is shown in the picture below. Several mistakes are visible at first glance, and the most fundamental one is the way the inner edge at the window was curved: the sheet was simply snipped and then riveted into the window frame. I do not know the background of how the window was installed, but the lack of craftsmanship is obvious.
List of risks arising from incorrect installation:
- water leaking into the structure
- damage to the thermal insulation
- colour staining and patches on the façade
- reduced service life of the building

So let’s look at how to make a circular sill correctly. We have already agreed that we will leave it to a sheet-metal craftsman. But to which one? Here we need to be clear about the technological equipment the craftsman will need in order to carry out the work properly.
Incorrectly executed sills


6. FAQ
- What is the difference between a square-edged sill and a sill with a curved bead?
- Can a sill be made without a segmented folder?
- Why is an extruded aluminium sill not worth it?
- What should go under the sill with mineral wool or a STEICO board?
- What fall should a sill have?
Related articles


